Electrical Upgrades and Frustrations
- Ben Sharp

- Jul 24, 2024
- 4 min read
We purchased our rig without the upgraded solar package, while Alliance has a nice "Solar Plus" package... the Renogy components don't have the best reputation for reliability and expanding. So we knew going in we would be upgrading the panels, and installing Victron gear before even purchasing the rig. After a few months on the road and our first Harvest Host with pretty toasty evening temps, it was time. Firing up a generator to cool down the camper in a quiet parking lot with 2 other rigs with none, felt pretty inconsiderate. I'd been watching Nate Yarbrough's Youtube videos for a while, some of the best insight into solar and mobile electrical out there. So when it was time, I went to explorist.life and used his well thought shopping tool to design my system. I'd been reading RV solar FB groups, and watching lots of Youtube on the subject. So I had already created a shopping list for what I thought I'd need... Nate's portal confirmed what I had already had queued up with the advantage of having pre-made wiring kits for all the components, telling me what size wire to run, and including the right crimps and fuses as well. THIS is the way!
I had to break this install up into 2 phases due to travel plans, and well... $$$ Phase 1:
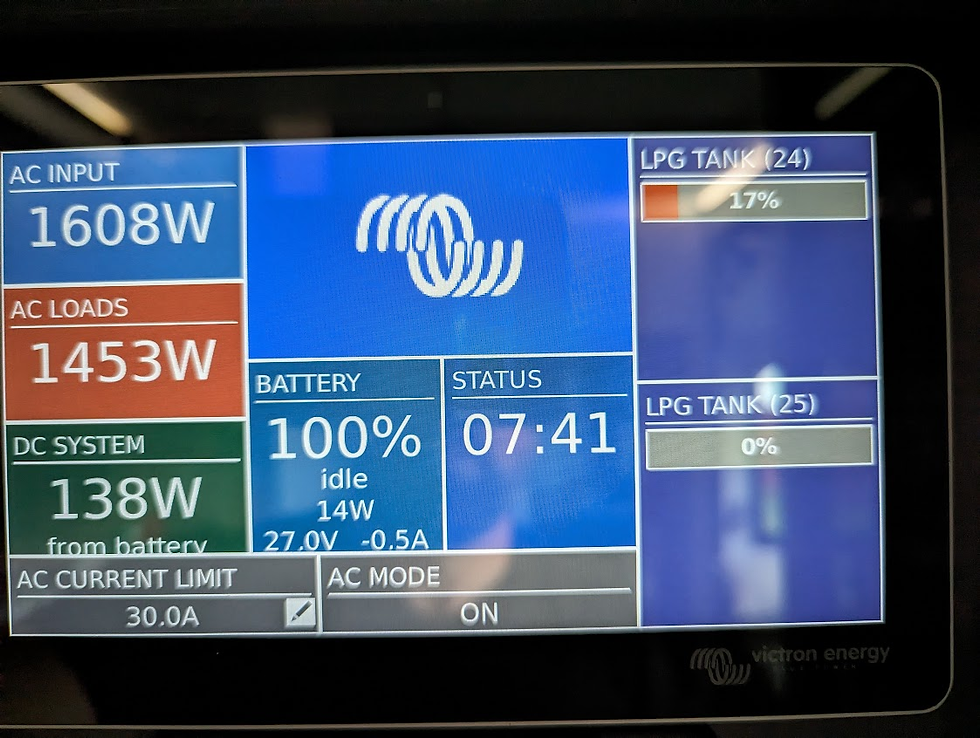
Install the inverter, batteries and wiring to support the rig off-grid and have us prepared for additional solar. With 640W of solar and a 40A charge controller, we could recharge the batteries well enough for our current needs. Future boondocking would be challenging in this configuration though. Core of this was the Victron Multiplus 24V 2x120, Cerbo GX, Linx Distributer, and 2 LiTime 24v 230AH batteries. We could certainly use more AH of batteries, but this is a considerable upgrade from the single 100AH 12V battery included in the rig. We kept that for the house battery charged by a single Orion 24>12/70A converter so we didn't need multiple 24V>12V converters to handle the amperage draw for leveling system and slides.
Phase 2:
Install enough solar to support us off-grid for overnight stays or extended boondocking. Our goal all along has to stay in cool enough areas to not need AC continuously when off-grid... however we need to be able to fire one up when it's just too hot & muggy... or as we've learned recently too smokey to sleep with windows open. With the recommendation from multiple sources being Rich Solar for the job, that's where I turned. For a consistent array of panels, I wanted to stay with all the same size. This meant removing the 2x320W Renogy panels so I could fit way more on the roof. I wound up with a 3s3p configuration of 250W Pro panels which are all 24V with 21% efficiency. Down the road I may find that a single charge controller is a limitation, but our situations so far haven't warranted the complexity of 2 controllers and additional wiring.
Things learned:
Get all the proper tools if doing this yourself. Key items include, but not limited to:
Lug crimper - Only way to get the 4/0 - 8 guage crimps done safely. https://www.amazon.com/dp/B00HJYVFSG
Ferrule crimper - CLUTCH. I tried installing the ferrules that came with the Explorist kit, but they just weren't the right fit for the Victron. This was the only component I had issues with. https://www.amazon.com/dp/B01CCC36SQ
Wire Cable Cutter - necessary to cut that 4/0 wire. https://www.amazon.com/dp/B08R8SNQCL
Heat gun - lots of heat shrink in a clean/safe wiring job.
Read... read... read. I've done a lot of electrical re-wires and installs in home remodels over the years so I had a pretty good comprehension. But when it comes to 12/24V mixed with 120V... there's a learning curve. If something doesn't look right to you during the install, like "is this going to be safe?" STOP, evaluate it... careful posting to FB to ask about it you'll get roasted for no reason by some... but then others may give great information that will get the job done safely. This is what I ran into with the Ferrules, I posted "This doesn't look right" and the nasty comments were so counter productive, when all I needed was "You're right, you should use these Ferrules instead".
If any of this is out of your comfort zone to learn and attempt... I highly recommend hiring someone who is certified to do so.
Make sure the VE.Bus ethernet cable... is NOT plugged into the Ethernet port. Or the Inverter, will just blink at you once and never start up. After 30 minutes of multi-meter checks "THIS HAS TO BE RIGHT" the simplest answer solved the problem.
May was probably not the best time to work on phase 1... as I was rained out almost every day after the gear arrived. So was working on the picnic table outside the rig for 1-2 hours at a time until I had the components ready to move to the front bay. Things have gotten more cable management and tidied up since this photo... but this was the install day.

July in Montana was probably not the best time to work on phase 2... WOOOO boy Montana gets some intense sun in July! Still have 1 panel to go, as I need a tilt mount so we can access the factory cable chase that will be under it. So for now... it's 2000W in a 4s2p configuration.


Comments